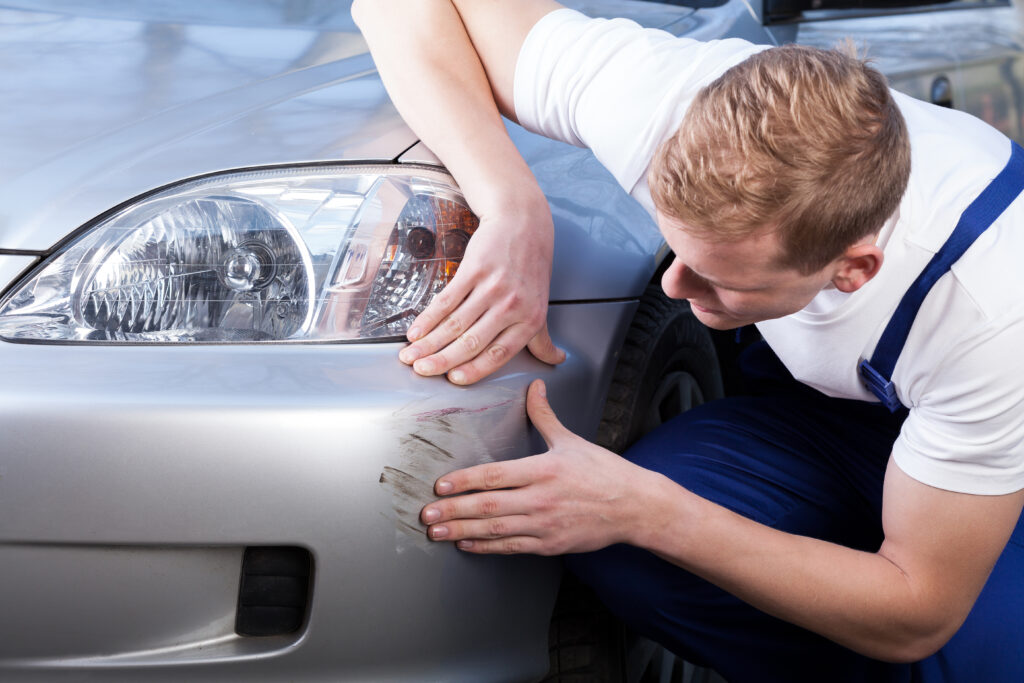
The world of automotive care often presents challenges, and among them is the common issue of bumper damage. Whether it’s a minor scrape or a noticeable dent, the condition of your car’s bumper can significantly impact its appearance and, in some cases, its functionality. While professional assistance is always an option, there are instances where a bit of DIY magic can come in handy. In this guide, we’ll explore some valuable DIY tips for small bumper repairs, helping you restore your vehicle’s aesthetic appeal without breaking the bank.
- Assess the Damage: Before diving into any repairs, take a close look at the damage your bumper has sustained. Identify scratches, dents, or any other issues that need attention. Understanding the extent of the damage will guide you in choosing the appropriate DIY approach.
- Clean the Area: Ensure the damaged area is clean and free from dirt, debris, and any loose paint. Use a mild detergent and water to wash the affected region. A clean surface provides a better foundation for any repair work you plan to undertake.
- Heat Gun or Hair Dryer: For minor dents, employing heat can be beneficial. Use a heat gun or a hair dryer to warm the dented area. The heat softens the bumper material, making it more pliable. Once warmed, gently push the dent out from the inside. Be cautious not to overheat or damage the bumper.
- Boiling Water Technique: For plastic bumpers with minor deformities, pouring boiling water over the affected area can help reshape it. The heat causes the plastic to become flexible, and you can then use your hands to mold it back into its original form. This technique is effective for addressing slight warping or bulging.
- DIY Filler and Sanding: For scratches or small chips, consider using a DIY filler to even out the surface. Sand the damaged area gently to create a smooth texture. Once sanded, apply the filler according to the product instructions. After it dries, sand again for a seamless finish.
- Touch-Up Paint: To complete the repair, use touch-up paint that matches your car’s color. Apply the paint carefully to the repaired area, following the instructions on the product. This step ensures that the repaired section blends seamlessly with the rest of the bumper.
Remember, these DIY tips are most effective for small bumper repairs, and they may not be suitable for extensive damage. If you’re dealing with a more severe issue or if you’re unsure about the repair process, seeking professional assistance like us at Auto Magicians is recommended.
In conclusion, small bumper repairs can be managed effectively with the right DIY approach. By assessing the damage, cleaning the area, and employing techniques like heat application and filler, you can restore your car’s bumper to its former glory. However, always exercise caution and seek professional help for complex repairs to ensure the safety and integrity of your vehicle.
Publicado: 6 February, 2024
Categoria(s)» AM Content,

